Put away the carving tools and get out the manicure set! Nail polish pumpkins are simple, stunning, one-of-a-kind fall decor.
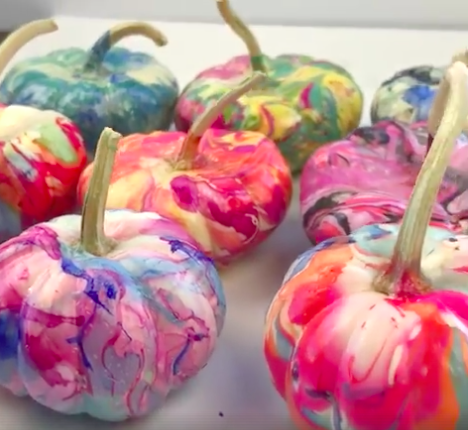
We thought we had seen it all. Pumpkins carved, painted, covered in paper mache or gems. You name it, it’s been done. But look at these gorgeous gourds! Each one is made with a different mixture of colors and the swirly designs are never the same.
You won’t believe how easy this technique is. Color Made Happy shows you how to simply plop a few drops of nail polish, in whatever colors strike your fancy, into a bowl of water. Lightly mix with a toothpick (not too much or the colors will blend and look muddy) and then dip your pumpkin. So easy and look how beautiful!
credit: Color Made Happy
Here’s your supply list:
- Mini pumpkins – Look for pumpkins that have a stem, it makes it easier to dip them. I found mine at Trader Joe’s. If you can’t find white, just spray paint some orange ones using a flat white primer.
- Nail polish – I used Sally Hansen Extreme Wear Nail Polish. Not all nail polish brands will work. The Sally Hansen brand is known to be one of the best brands when it comes to nail marbling which uses a very similar technique.
- Water Container – Make sure it’s deep enough to fully submerge a mini pumpkin.
- Room Temperature Water
- Toothpicks
- Q-Tips
Get complete instructions at Color Made Happy.
WATCH: Marbleized Nail Polish Pumpkins are little works of art
SUGGESTED FOR YOU: Spookilicious Buttermilk Glow In The Dark Donuts