DIY Wrapping Paper Caddy
Wrapping supplies can be so difficult to store and organize. Make this DIY Wrapping Paper Caddy and create order out of chaos!
Finding a system to keep all wrapping materials together can be a challenge. Under the bed boxes work ok, unless you have extra-long tubes of wrapping paper. And what about all of the gift bags that have accumulated over various events? They multiply like rabbits, don’t they?
Christina at 2 Little Hooligans has put together a handy tutorial, showing how to upcycle an ordinary wooden stool into a cute and useful wrapping station. With just a few basic sewing skills, you can build the pocket panels to your requirements, corralling all your wrapping needs in one convenient spot. The wheels make it extra handy, allowing you to easily move it from room to room or push it into a corner or closet for storage. The best part is that these stools are relatively easy to find in thrift stores, so this project should be a very affordable DIY!
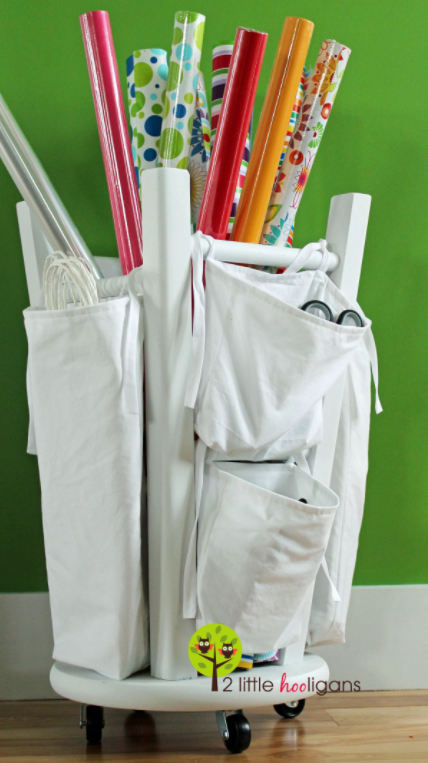
credit: 2 Little Hooligans
Here are the supplies that you need to make your own DIY Wrapping Paper Caddy:
- Kitchen stool. Keep your eyes open for one at the thrift store or yard sales.
- Fabric: To make two larger bags and two smaller bags, you are going to need about 2 1/2 yards of fabric or one $5 twin flat sheet. You may need more fabric depending on the size of your stool and the design of your fabric chosen. Read instructions to see how to determine the amount of fabric needed.
- 4 Casters. You can buy these at any hardware store.
- 2 packages of bias tape or about 4 yards of homemade bias tape. (You could use ribbon as well.) The amount needed depends on how long your want your ties to be.
Full instructions can be found at 2 Little Hooligans.
YOU MIGHT ALSO LIKE: Get Out The Paints For This Playmat Rug Makeover