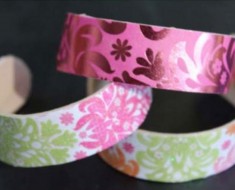
Where was this simple idea when my daughter was so cute and tiny? If it ‘twirled’ my daughter loved it and she would have loved a tu-tu!
This ‘no-sew’ tu-tu is super cute and super easy – I promise!! Check it out and make your sweetie-pie one today!

WikiHow
Follow these simple steps and your sugar-pop will will be twirling by dinnertime!
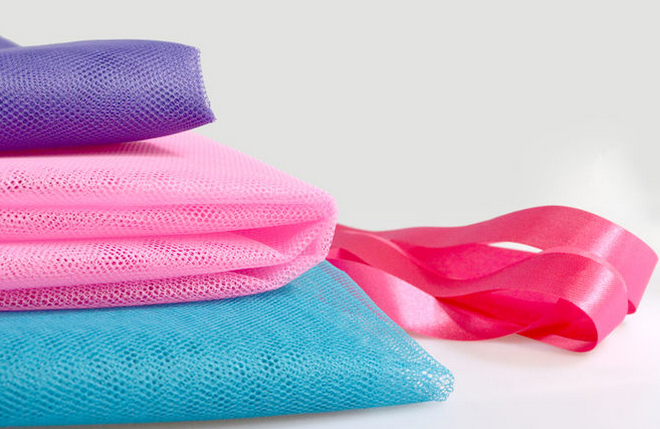
All you need is 1) a ribbon for the waistband and 2) colorful tulle.
Let’s get started!!!
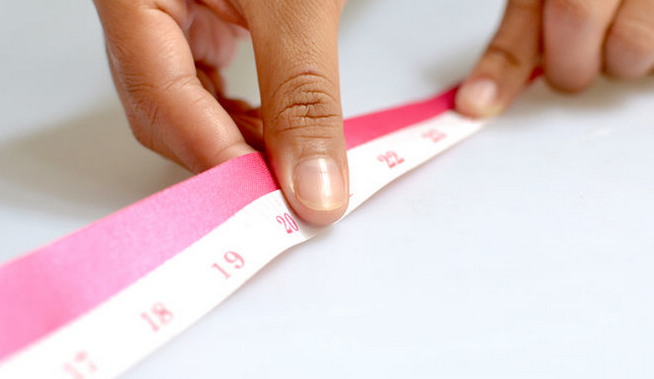
Step 1) Take your measurements. Use a soft measuring tape to find the length around your hips or waist. The location of your measurement is the place that the tutu will sit when finished, so choose accordingly. Additionally, decide how long you want your skirt to be by measuring from your waistband to the desired hemline along your legs.

WikiHow
Step 2) Select your materials. The two required materials for a basic no-sew tutu are tulle and ribbon. Each can be in whatever color(s) you would like. Depending on the size of the wearer and the desired length of the tutu, you will need to purchase anywhere from 2-7 yards (1.8-6.5 meters) of fabric.
WikiHow
Step 3) Create the waistband. Take the measurement from around your waist and apply it to the ribbon. Add an additional 12 inches (6 inches for each tail end) of length to the ribbon. This will allow it to be tied together in a bow in the back. Tie the ribbon in a knot with the two 6 inch (15.2 cm) tails hanging out; this will make it easier to add the tulle and help you know when to stop adding the fabric.
WikiHow
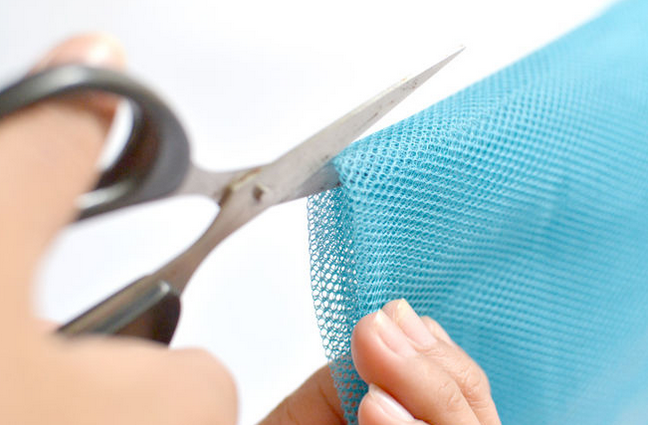
Step 4) Cut your tulle. Measure your tulle into strips of fabric twice the length of your desired skirt. For example, if you want your skirt to be 15 inches (38.1 cm) long from the waist to the hemline, measure your tulle into strips 30 inches (76.2 cm) long. Cut about 20 of these strips to start, and cut additional pieces later if you run out.
- For a fuller, fluffier skirt, cut many pieces of tulle into small, thin sections.
- To create a skirt that lies flat and not as fluffy, cut only a few pieces of tulle that are very wide.
WikiHow
Step 5) Fold your tulle strips in half. As you begin to add your tulle to the skirt, fold each strip of tulle in half. This should create a loop on one end and two loose tails on the other.

WikiHow
WikiHow
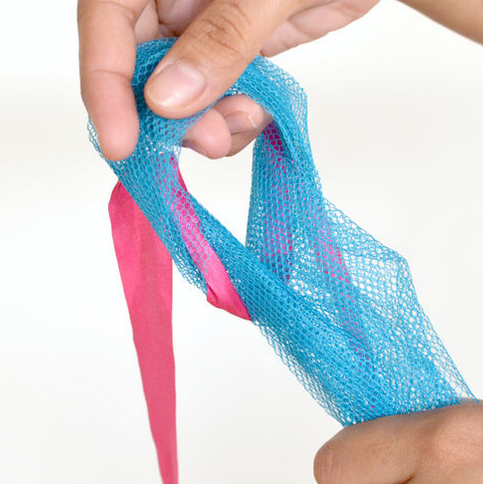
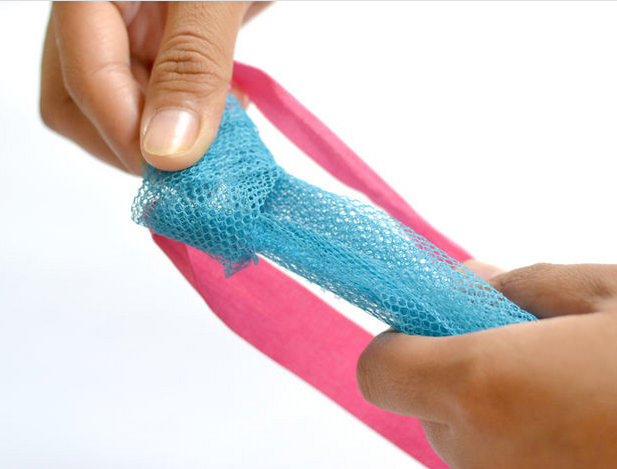
Step 6) Create a knot over the waistband. Place the halved tulle strips over the waistband so that only a few inches of the loop stick out over the top. Then fold the tail ends around the waistband and pull them through the loop.
WikiHow
Step 7) Tighten each knot. As you pull the strips through the loop, tighten them and slide them down the waistband to make room for other strips. Keeping the tulle knots tight will stabilize the skirt and make it look more polished.

WikiHow
Step 8) Continue adding strips. Add more and more strips around the waistband to fill out the skirt. Push them close together for a more full skirt, or leave them more spaced apart for a skirt that is a bit more flat. Stop adding the tulle strips when you reach the end (the knot) of your waistband.

WikiHow
Step 9) Tie on the tutu. To finish the tutu, untie the knot in the waistband and try it on for size! Wrap the skirt around you and tie the ribbon tails in a bow in the back to secure the tutu around your waist.
WikiHow
Step 10) Finished. This is a great accessory over a skirt, leggings, or a dress.
Thank you, WikiHow, for this super sweet and super easy no-sew tu-tu. Our little girls love playing dress-up and this is perfect for those dress-up-sort-of-days!!
HT WikiHow