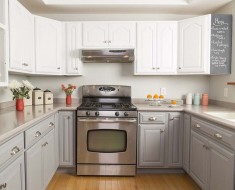
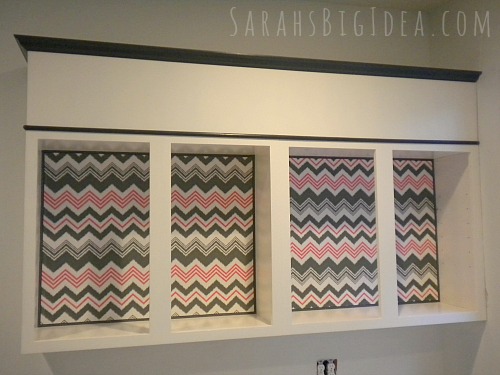
Turn your boring (or ugly) cabinets into a work of art in just 4 steps and 45 minutes!

1. Choose a fabric you LOVE
Pick out a fabric that excites you! This is your chance to add personality to your cabinets. This is a big decision, so you may want to get some feedback from a couple close friends.
2. Measure & Cut
Take a ruler or tape measurer to the back panel of your cabinets. Get an accurate measurement to cut by. When you’re cutting, stay as close to the measurement as possible. You can err on the small side if you have to, but you definitely don’t want to cut the fabric larger than your measurement.
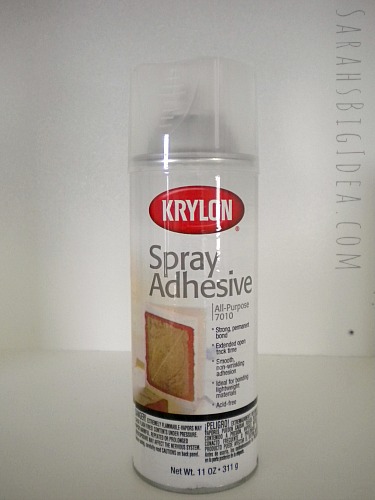
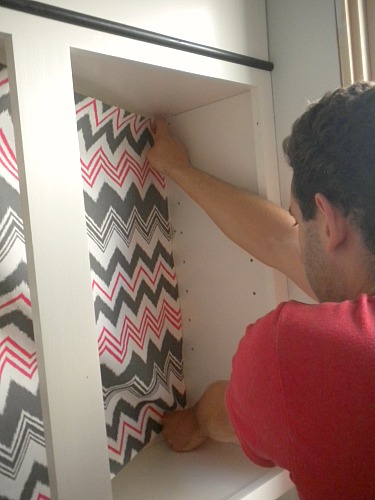
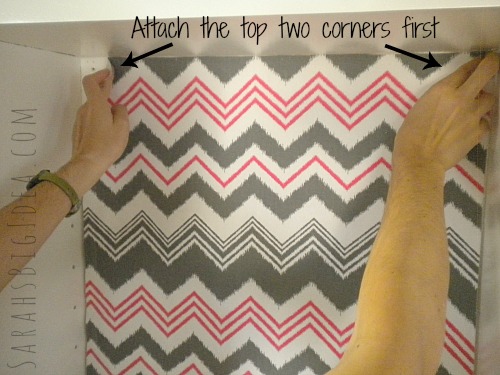
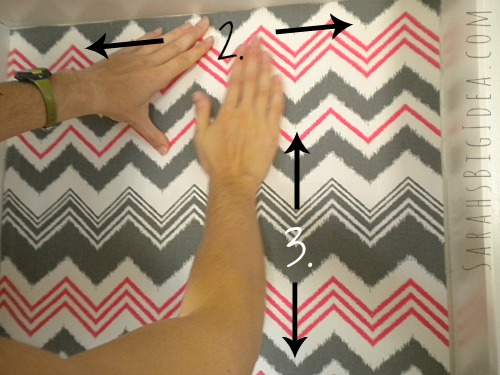
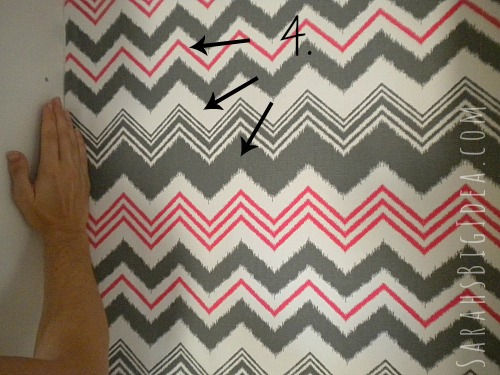
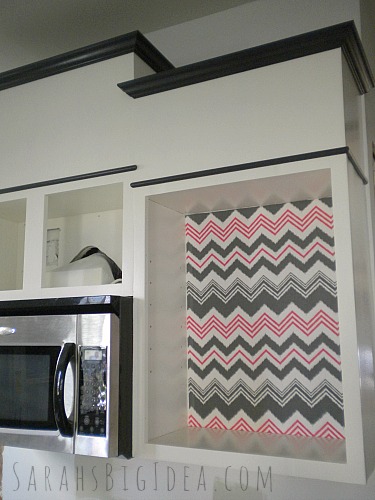
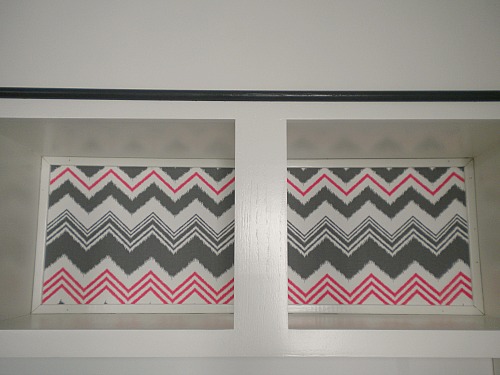
3. Attach your fabric to the cabinet backs
This is probably the easiest part. Just spray and stick! Follow the directions on the can of spray adhesive. With most brands, just spray your cabinet back, then stick your fabric to it. Piece of cake. (ps do not spray on cake.)
sarahsbigidea.com
sarahsbigidea.com
sarahsbigidea.com
sarahsbigidea.com
sarahsbigidea.com
sarahsbigidea.com
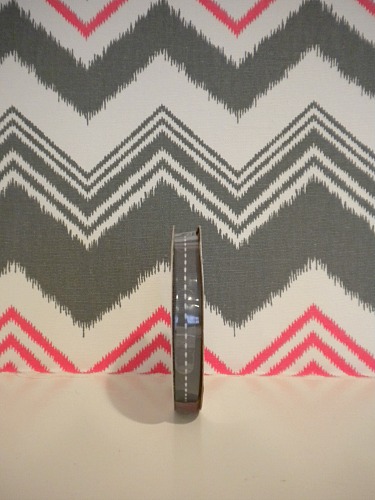
4. Finish the edges
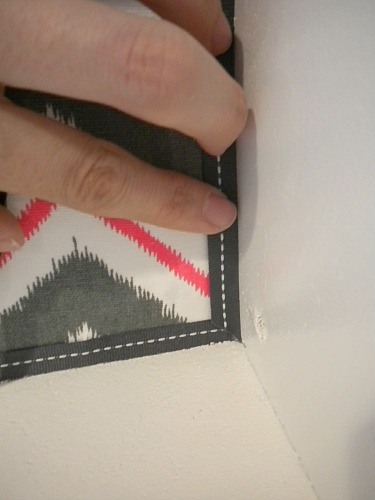
Adding trim to your edges really takes this up a notch. It looks fantastic.
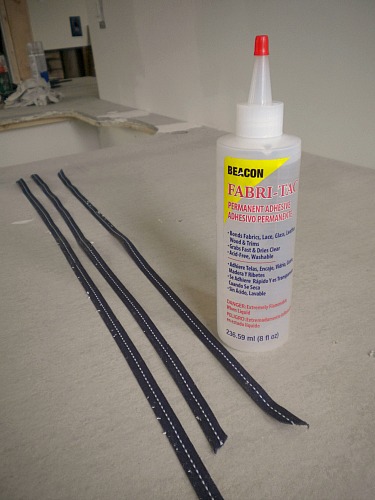
Start by picking out your favorite ribbon. Then cut them to the appropriate lengths.
sarahsbigidea.com
sarahsbigidea.com
sarahsbigidea.com
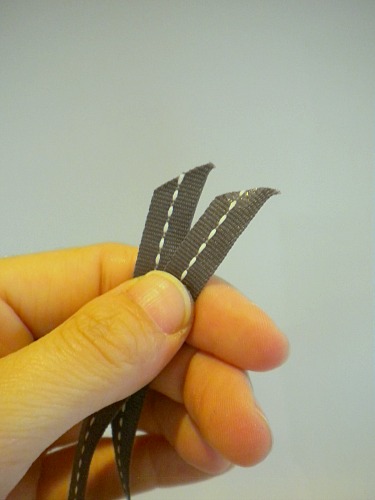
Put some fabric glue on the back of your ribbon for attaching it to your fabric. Remember, just a little dab will you do. Too much glue will just make a mess!
sarahsbigidea.com
sarahsbigidea.com
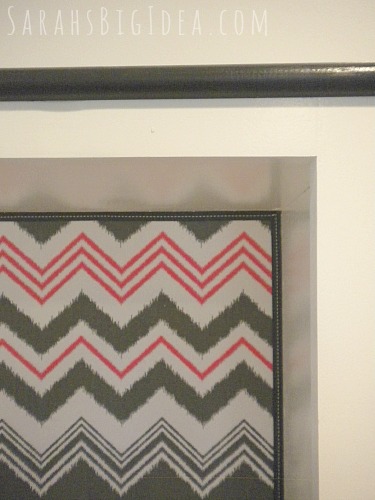
While the ribbon isn’t required, it definitely sets it off!

sarahsbigidea.com
sarahsbigidea.com
Hooray! Every time you walk into your kitchen you’ll remember how much fun this was!
sarahsbigidea.com
h/t: sarahsbigidea.com