We’ve all been there…a flat tire. UGH! And whether your 18 or 58, you should know the ins and outs to changing a flat tire and how to best be prepared. Department of Motor Vehicles (DMV) spells it out fairly clearly, so I thought I would share it with you, too! Stay safe out there!
thinkstock
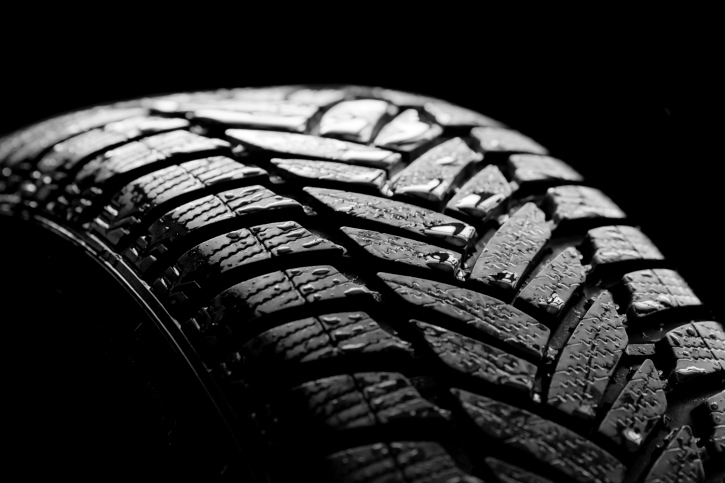
One of the best things you can do for yourself is to give your tires a quick check BEFORE you leave home or at least before you hit the road for an extended trip. Look for worn/thin tread or even a nail/screw that maybe you picked up along the way. Also, take a look (periodically) at your spare tire just to make sure it’s still in good shape for when you need it. *It’s not a matter of IF but WHEN.

thinkstock
Per DMV, besides the crucial jack, wrench, and spare tire, you might also want to consider placing these tools in your trunk just to make the task at hand a bit easier:
- Flashlight (with extra batteries)
- Gloves
- Tarp or mat to kneel on
- Plastic rain poncho
- Fix-a-flat™ spray foam
- Tire gauge
- Tire blocks
thinkstock
So, here are the (10) steps to successfully change your tire and have you back on your way in no time:
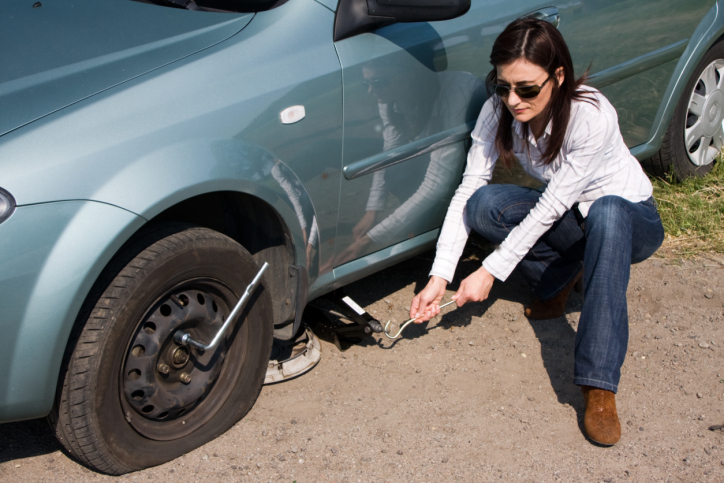
- Find a safe spot to pull over. If you’re on the freeway, taking the next exit is the safest bet, even if you have to drive on a blown tire. Otherwise, pull as far onto the shoulder as possible. Don’t park in the middle of a curve where approaching cars can’t see you. Also, choose a flat spot; jacking up your car on a hill can be a disaster. If you have a manual transmission, leave your car in gear. Be sure to set your parking brake!
- Turn on your hazard lights. Get the jack, wrench, and spare tire from the trunk of the car and bring them over to the tire that is flat. Use other tools or supplies, if needed.
- Use the wrench to loosen the lug nuts. You may need to remove the hubcap. Don’t remove the lug nuts at this point; simply loosen them by turning the wrench to the left (counter-clockwise). If the lug nuts are really tight, try placing the wrench on the nut and standing on the wrench arm to use your full weight on it. You can also try hitting the wrench arm with a rock.
- Use the jack to lift the vehicle off the ground. Different car models may have different places to put the jack; consult your owner’s manual for specific locations. Once the jack is securely in the correct spot, jack up the car until the tire is about 6 inches off the ground.
- Remove the lug nuts and pull the tire off the car. Make sure to place the lug nuts in a pile that won’t get scattered, and pull the tire straight toward yourself to remove it from the wheel base.
- Place the spare on the car. Line up the lug nut posts with the holes in the spare, and push the spare all the way onto the wheel base until it can’t go any farther.
- Put on the lug nuts. Don’t put them on tightly, just make sure they’re on enough for the spare to stay on the car for a moment.
- Lower the car back to the ground. Use the jack to bring the car back down to ground level. Remove the jack from underneath the car.
- Make sure the lug nuts are tightened. With the car back on the ground, you can now tighten the lug nuts. Rather than tightening them one by one in order, start with one lug nut, tighten it about 50%, move to the opposite nut (across the circle) and tighten that one about the same amount. Keep tightening opposite lug nuts gradually in turn until each lug nut is as tight as it can be.
- Put your flat tire and tools back in your trunk. Make sure you don’t leave anything on the side of the road.
Good luck and be safe out there!
HT DMV