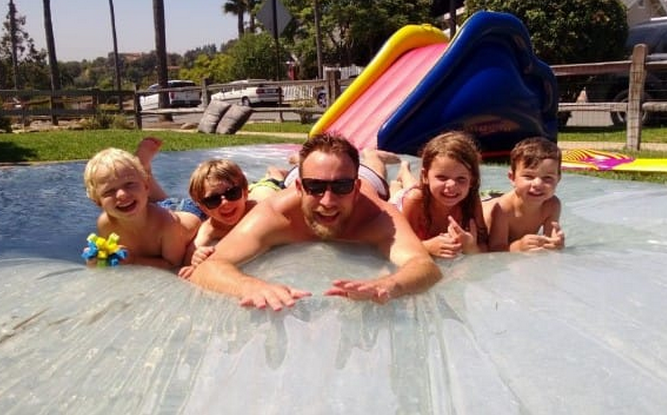
Our friends at LittleThings.com have created a great DIY backyard summertime “Water Blob” your kids are gonna love! What a fun (and safe) option for your little ones to enjoy all in the privacy of your backyard.
imgur
instructables / mikeshorr117
This is what you’ll need to make this DIY project:
- Plastic sheeting
- An iron and ironing board
- A Towel (to iron over)
- Duct Tape
- Water source
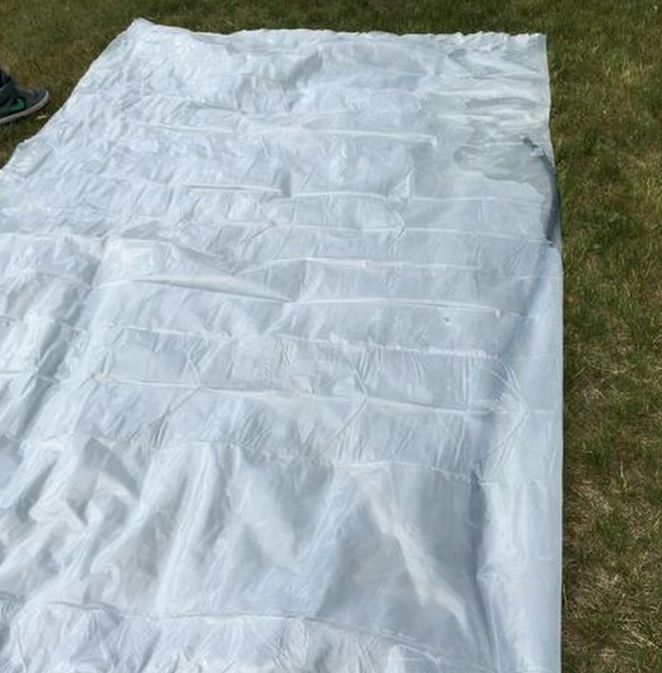
Step 1: Take you plastic sheet (which we found at Walmart) and roll it out on your floor – indoors – in a large open area.

instructables / mikeshorr117
Step 2: Make sure your corners line-up for a nice even rectangle.
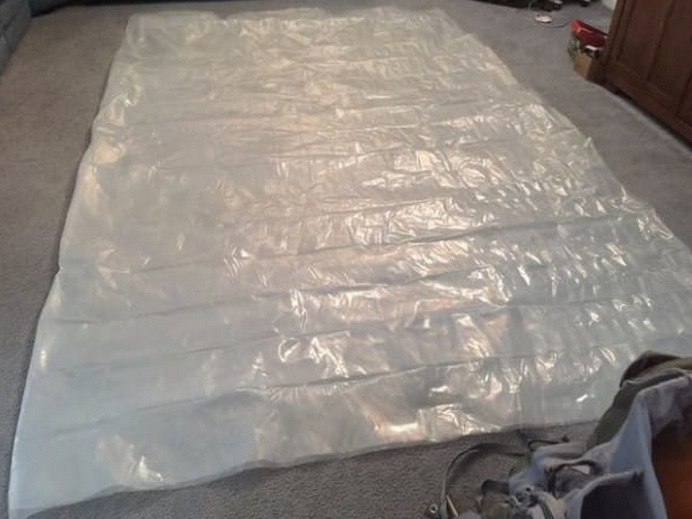
instructables / mikeshorr117
Step 3: Get you iron, ironing board and towel ready and nearby.
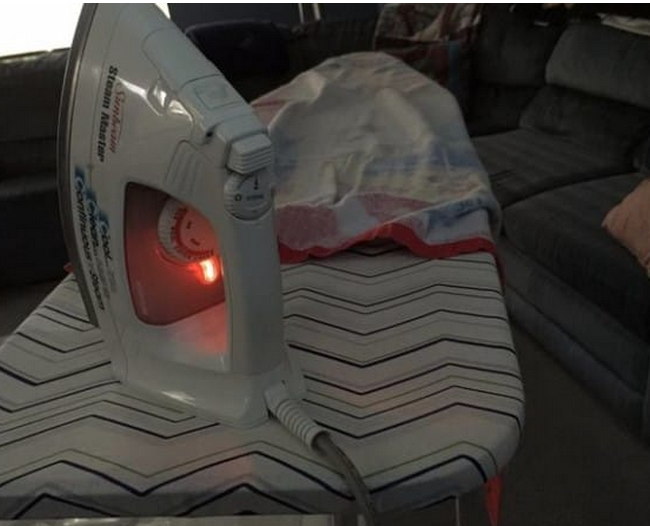
instructables / mikeshorr117
Step 4: Your objective is to iron shut (creating a waterproof seal) the three sides using your towel as a layer on the bottom and top. You might need a set of helping hands during this step.
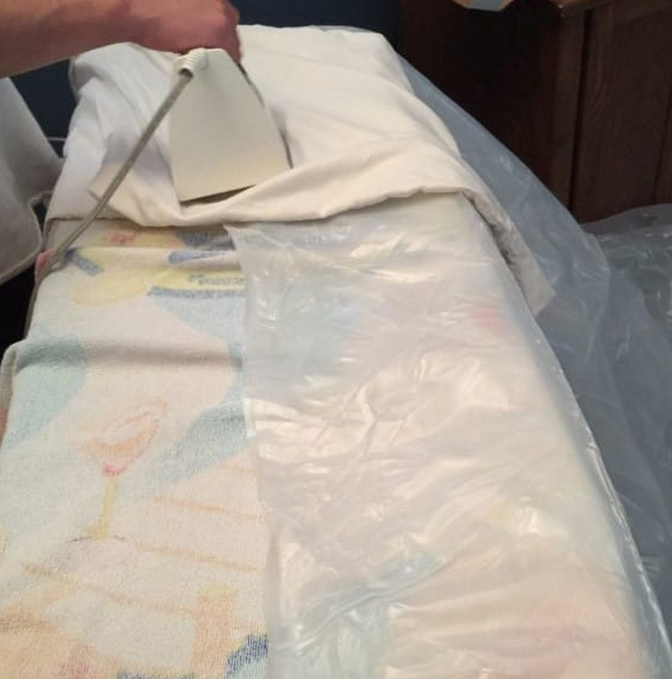
instructables / mikeshorr117
Step 5: Seal up all of the edges to look like a huge ziploc bag…leaving a small opening to insert your hose to fill the ‘water blob.’
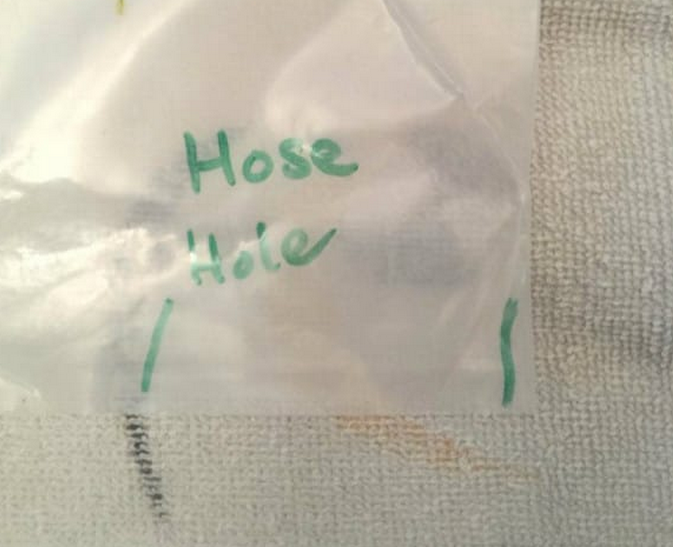
instructables / mikeshorr117
instructables / mikeshorr117
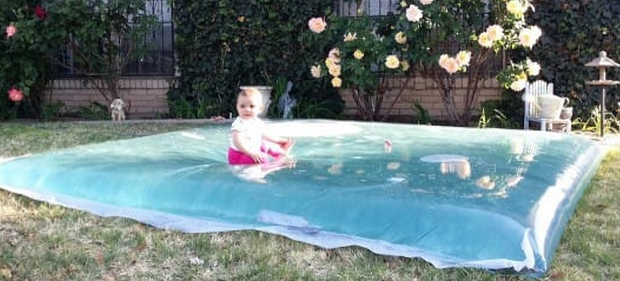
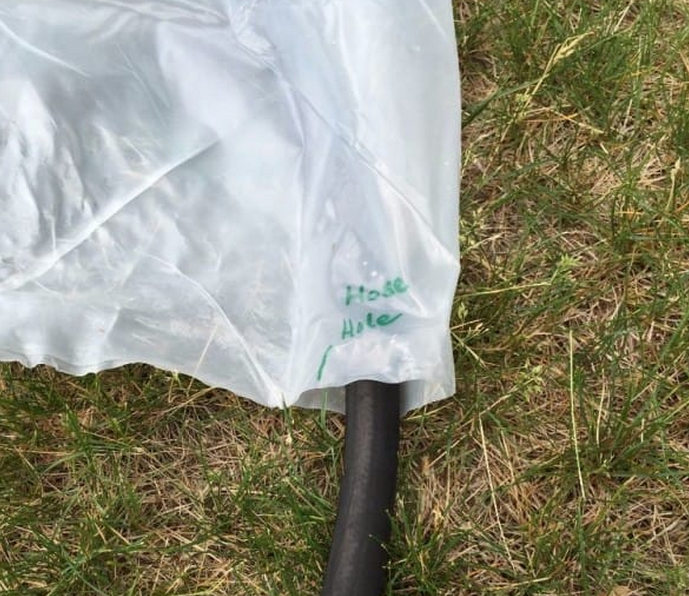
Step 6: Take it outside and insert hose and begin filling it up.
instructables / mikeshorr117
Step 7: Once your ‘water blob’ is full, remove hose and tape the opening with your duct tape. You also might discover other small leaks – tape ’em up and you’ll be good to go!
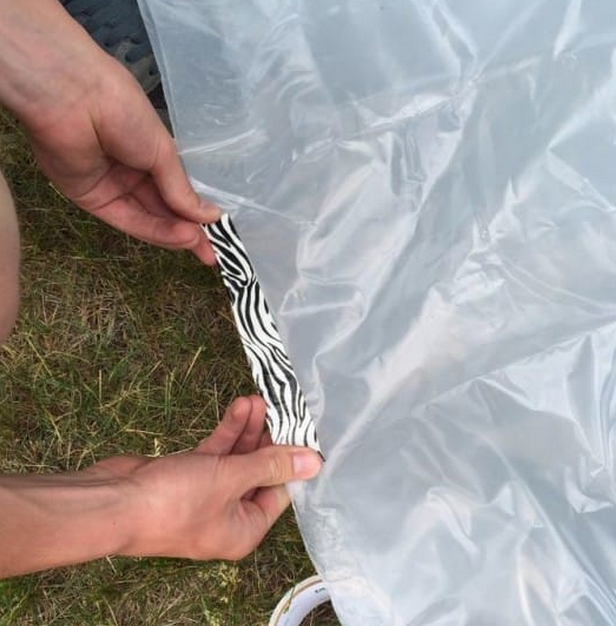
instructables / mikeshorr117
Step 8: Have some kids check it out and ENJOY!
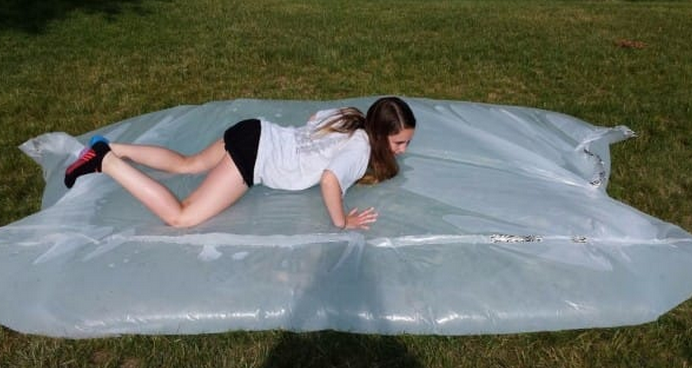
instructables / mikeshorr117
Thanks, LittleThings, for such a fun and safe backyard, summertime toy!
HT LittleThings