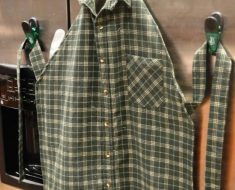
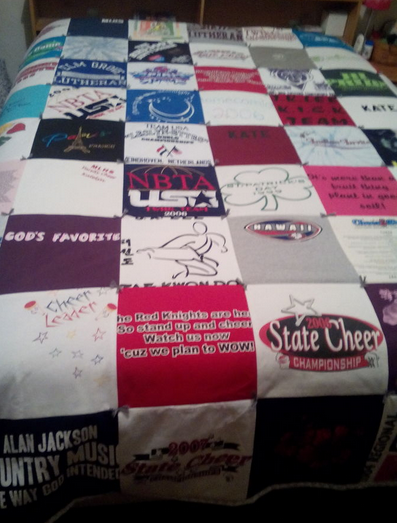
If your kids play a lot of sports or have traveled quite a bit, they have probably accumulated a ton of t-shirts and jerseys. I know ours have. And when they outgrow them, then what? Donate or give away? But they are such fun reminders of things our kids have accomplished. So, you could make your son or daughter a “T-Shirt Quilt” that they can sleep with and even take to college as sort of a grown up ‘blankie!’
WikiHow
Just follow these directions below and you’ll be on your way to making a wonderful gift for you child that he/she will cherish!
Step 1) Sort through your t-shirts.
- Stack them by color and/or design.
- Determine how many of them you want to use. The size and design of your finished quilt will depend on the amount of material you have available.
- 14×14 inch (35.5cm) squares are a common and comfortable size to use, but you can enlarge that to 18×18 inch (45cm) if the shirts are XXL and shrink that to 10×10 (25cm) or less if you will be using children’s shirts.
- Common blanket sizes are:
- Crib – 42″ x 72″ (3×4 or 3×5 shirt grid = 12 to 15 shirts)
- Twin – 66″ x 96″ (5×8 or 6×9 grid = 40 to 54 shirts)
- Double/full – 81″ x 96″ (6×8 or 7×9 grid = 48 to 63 shirts)
- Queen – 90″ x 102″ (8×9 or 9×10 grid = 72 to 90 shirts)
- Standard King – 108″ x 102″ (10×10 or 10×11 grid = 100 to 110 shirts)
- California King – 102″ x 110″ (10×11 or 11×11 grid = 110 to 121 shirts)
- Note: you can use “sashing” or strips of cloth between the T-shirt panels to reduce the number of shirts needed… these numbers are approximate, and are for a quilt top made of nothing but tees, with no sashing.
WikiHow
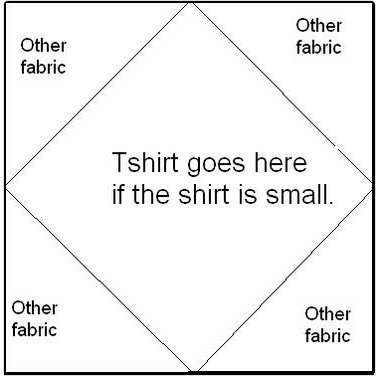
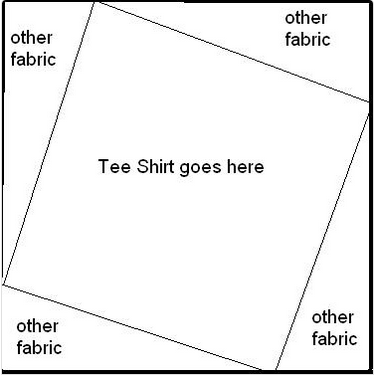
Option B is the 22.5 degree turn;
WikiHow
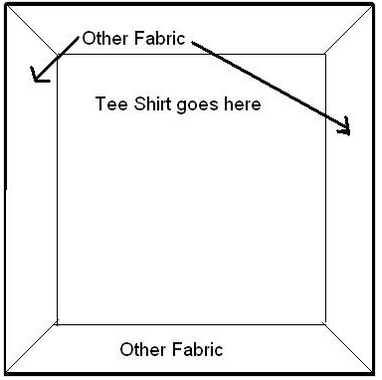
Option C is the Window Block.
WikiHow
Step 4) Launder all of the t-shirts. Do not use fabric softeners or anti-static sheets.
WikiHow
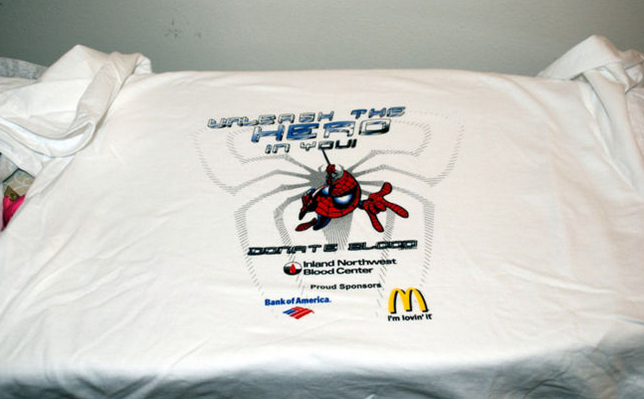
Step 5) Lay the t-shirt out flat. You may want to iron the shirts (note that many designs on t-shirts have transfers that may melt, so test a small area prior to ironing) to get out any wrinkles still left after washing and drying.
WikiHow

WikiHow
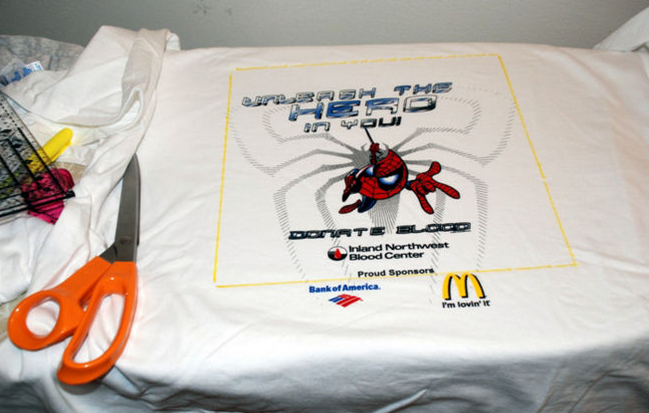
Step 6) Determine what part of the t-shirt you want in the quilt and trace the perimeter of your template.
WikiHow
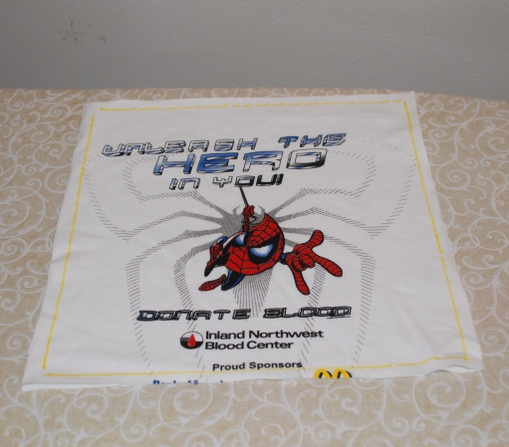
Step 7) Cut your square panels from the t-shirts using a template. A square Plexiglas template can make rotary cutting of these panels a breeze.
- Note: Remember to allow a half inch (1.25 cm) of seam allowance all around.
WikiHow
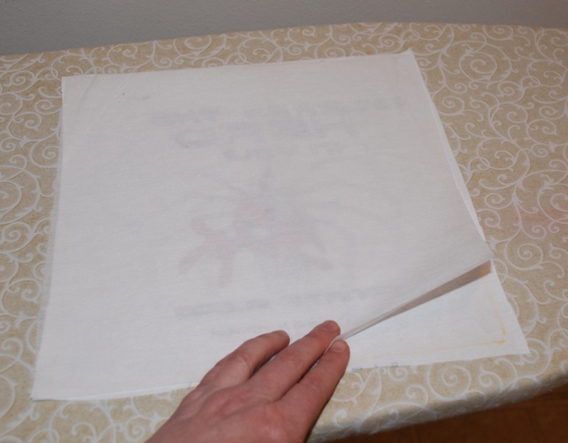
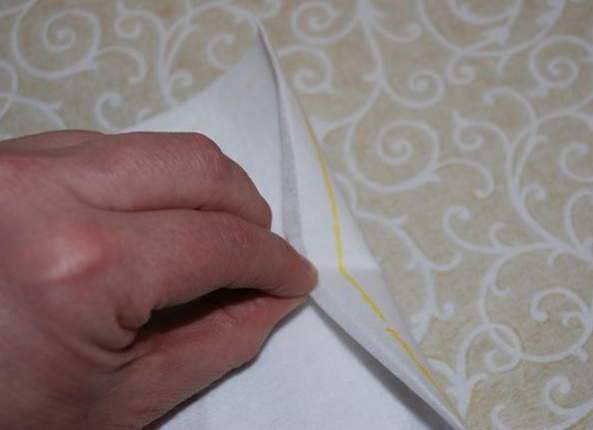
Step 8) Stabilize the t-shirt panels by ironing a non-woven fusible interfacing or lightweight, fusible tricot interfacing to the back sides. This prevents the t-shirts from stretching or sagging during construction.
WikiHow
Step 9) Check to be certain that the interfacing has adhered properly.
- Once you’ve stabilized the knit tee shirt fabric, you are ready to sew as you would with “normal” fabrics.
WikiHow
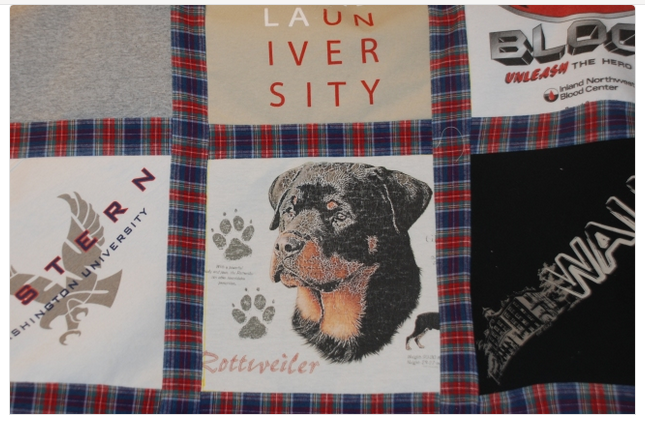
Step 10) Decide how you’ll sew the panels together. Sewing the panels in columns or rows and then joining those together for the complete panel is the most common method of constructing a quilt top.
To complete your T-Shirt Quilt, click here!
HT WikiHow