This creative genius discovered a really neat way to recycle some picture frames she no longer needed and created SHELVES! And I’m gonna walk you through this ‘easy-peasy’ process from Shanty 2 Chic and you’ll be hanging new shelves by the weekend!
Shanty2Chic
{Note: You will need a few items to assemble the shelf. Wood glue, tape measure, hand saw and even a nail gun will be helpful.}
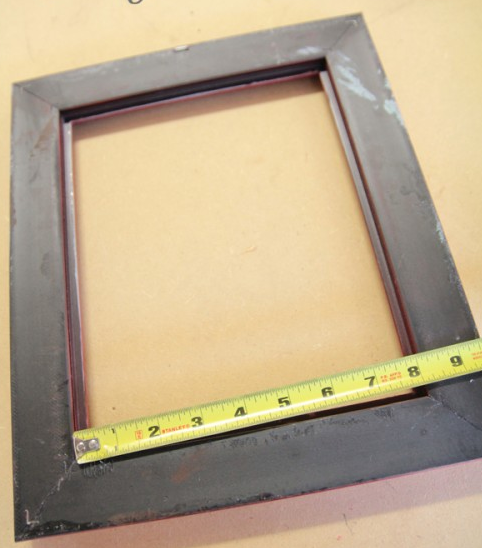
Step 1: Start with some old frames…and they don’t have be expensive…you just have to like the front of them. Then take out the glass and the backing, removing any hardware on the back leaving a blank frame. Measure both sides of the frames.
Shanty2Chic
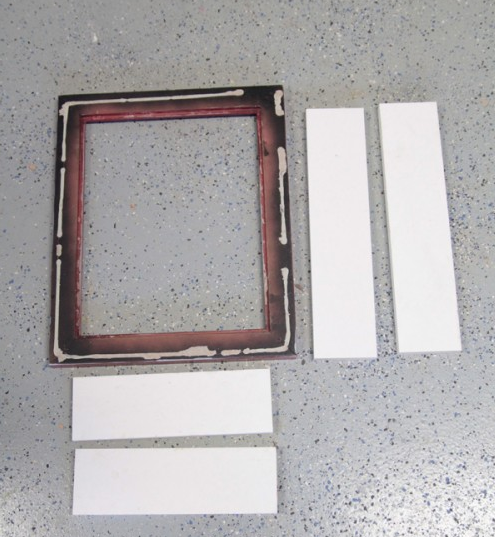
Step 2: Next, you’ll need some 1×4 boards. Scrap will work because we’re going to paint it. You will make two cuts for each side. I had (2) strips measuring 8″ long and (2) at 11″ long since my frame measured 8×11. Each frame will be different, so just cut yours to size.
Shanty2Chic
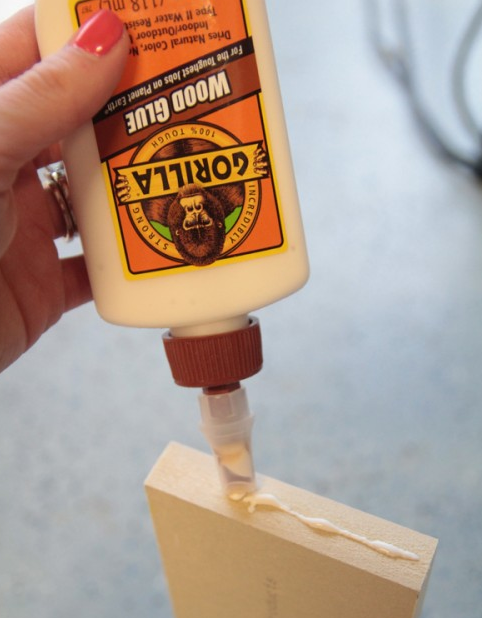
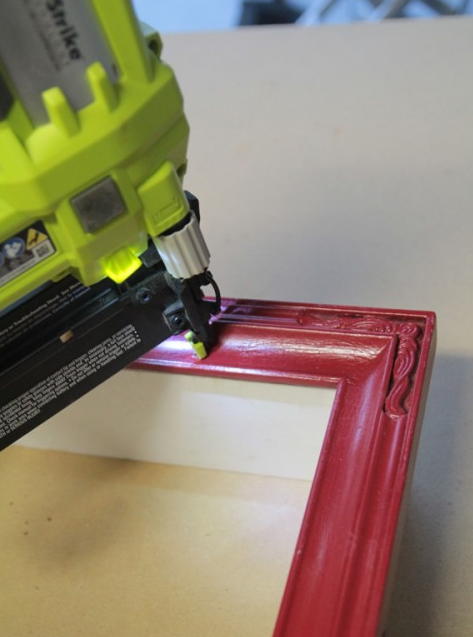
Step 3: Next, I add a strip of Gorilla Wood Glue and used my Ryobi Airstrike Nail-Gun to make a box from these 4 pieces, using 3 nails on each corner.
Shanty2Chic

Shanty2Chic
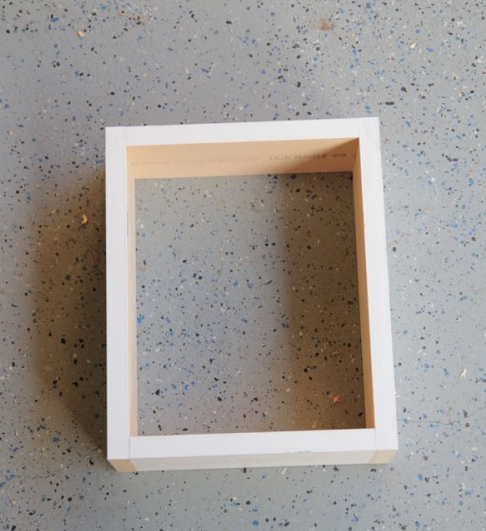
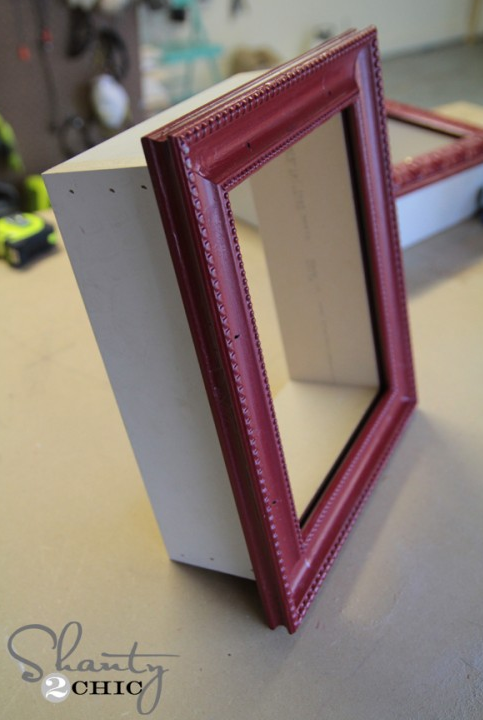
Step 4: Your finished product should look like a shadow box.
Shanty2Chic
Shanty2Chic
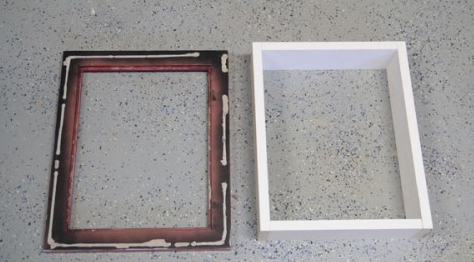
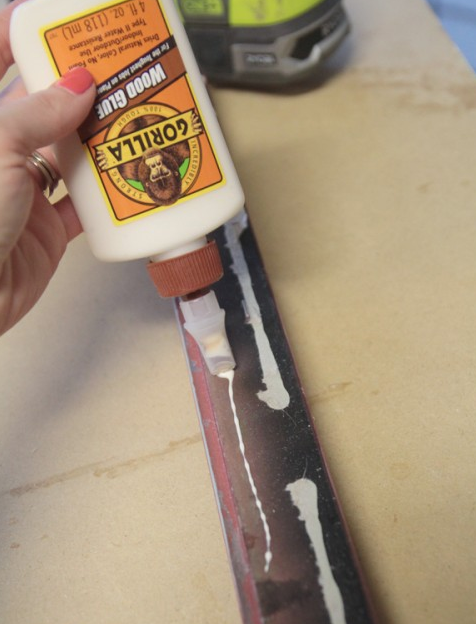
Step 5: Next, I used my Gorilla Glue again and prepared to glue the box on the backside. I then used my nail-gun (using 1 1/4″ nails) again to secure the frame from the front as well.
Shanty2Chic
Shanty2Chic
Step 6: Your shelf should look like this. Next up, painting!
Shanty2Chic
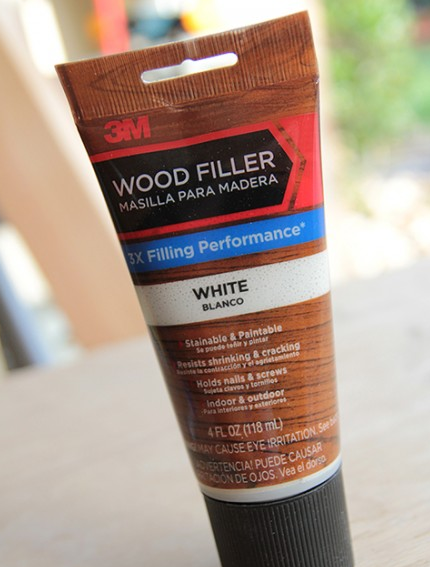
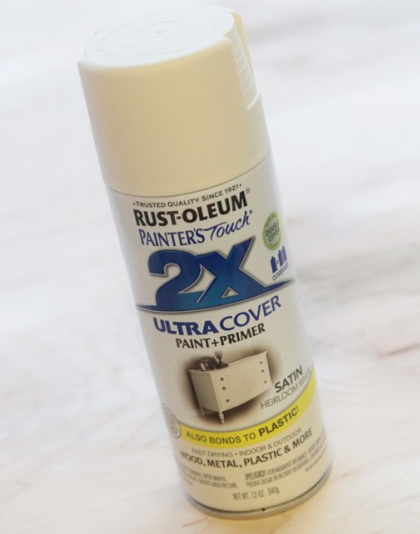
Step 7: Before painting, I use just a dab of wood filler to cover my nail holes. And then I spray paint using my favorite Rust-oleum in Heirloom White / Satin finish from Home Depot.
Shanty2Chic
Shanty2Chic
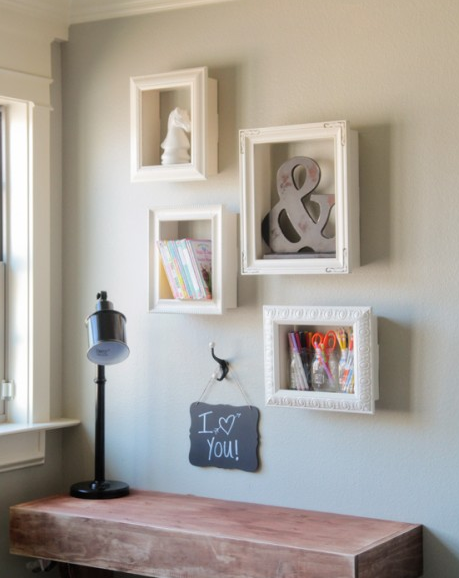
Step 8: Once dry, you’re ready to hang them and fill them up! I prefer to use (3) large Command strips per shelf.

Shanty2Chic
Shanty2Chic
Good Job! I hope you will enjoy your new (recycled) shelves as much as I know I will! Plus, I think these would make great gifts and spruce up any dorm room, as well!
Thank you, Shanty2Chic, for your inspiration and for sharing it with us!
HT Shanty2Chic