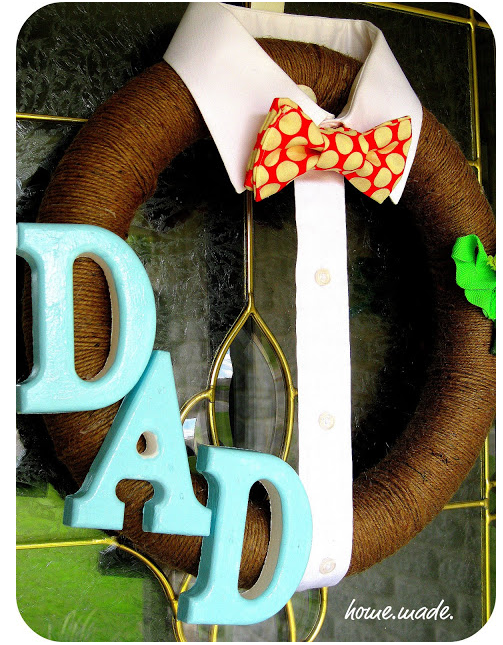
With Father’s Day right around the corner, I must share this incredibly adorable wreath your kiddos can make for Daddy and melt his heart!! Oh My Stars, this is cute. 🙂
home—made.blogspot.com
Dad’s everywhere deserve to be loved and celebrated for all that they do! Being the leader of the home and ‘bringing home the bacon’ can wear them out, so why not show some love making him this wreath that can hang for days (or months) after the holiday.
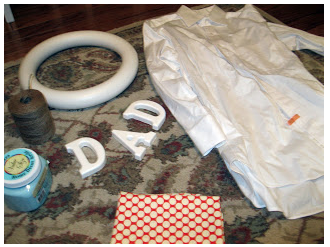
Here’s what you’ll need:
(1) Styrofoam Wreath Form
(1) White Button-Down Men’s Shirt (I thrifted this one at Goodwill for $1.oo)
Jute twine
D, A, D letters (mine are foam but you can use wood, chipboard or whatever!)
Small portion of Paint (whatever is your color of choice) and Mod Podge
Fabric for a bowtie (or the real thing, if you have one) I used the Bow Tie Tutorial from A Lemon Squeezy Home to make mine.
Hot Glue
home—made.blogspot.com
OK – here we go!
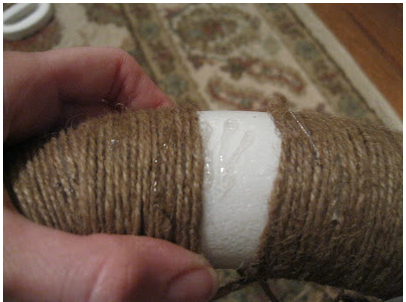
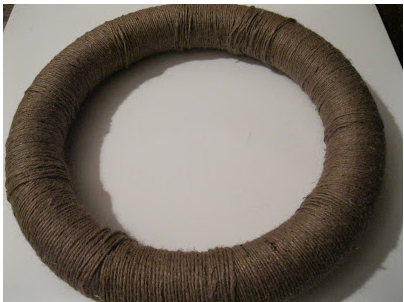
Step 1) The first step is a little tedious, but so worth it. Wrap your wreath form in the jute twine, securing with hot glue as you go. (It took me about an hour)
It should look like this as you go…
home—made.blogspot.com
home—made.blogspot.com
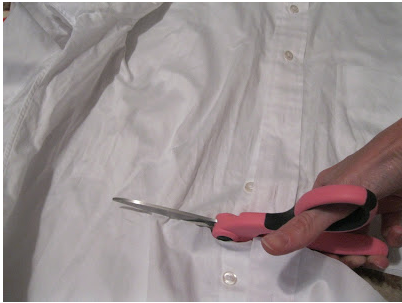
Step 2) Take your wreath form and lay it on top of your men’s shirt, with the top of the wreath form at the top of the collar. Cut off the bottom of the shirt about two inches below where the bottom of the wreath lies.
home—made.blogspot.com
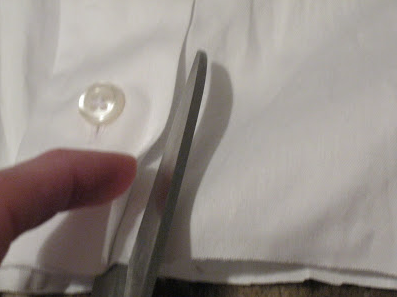
Step 3) Carefully cut along the button placket towards the collar, following the seam as closely as you can.
home—made.blogspot.com
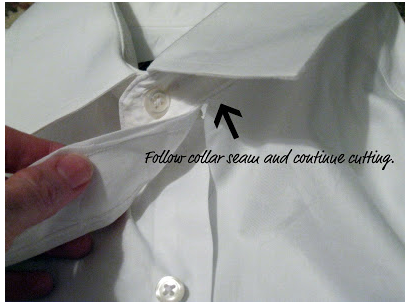
Step 4) When you reach the seam where the collar is joined to the front of the shirt, continue cutting along seam-line around the collar. (Be sure to cut on the bottom collar seam – you want it to be able to fold over later.)
home—made.blogspot.com
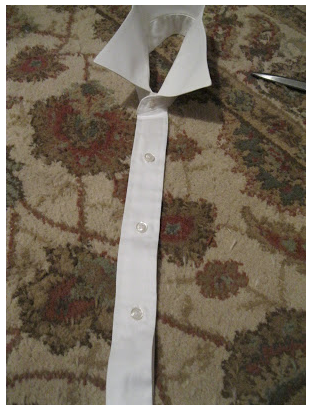
Step 5) When you reach the seam for the opposite button placket, cut down it along the seam as with the other side. It will look like this when you’re done. **set this aside for now.
home—made.blogspot.com
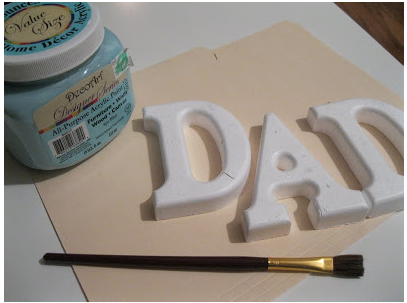
Step 6) Let’s decorate your DAD letters. I painted mine with some turquoise blue acrylic paint (adding a coat of Mod Podge once it was dry for shine.) You can mod podge fabric if you like or do glitter. Be creative!
home—made.blogspot.com

home—made.blogspot.com
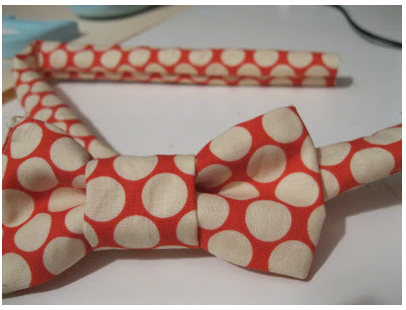
Step 7) While you’re waiting for those to dry, now’s the time to make your bow tie (if you’re making one). I had this polka dot Amy Butler fabric left over from another project – it was screaming to be made into a bow tie! Christie’s tutorial was easy peasy (as promised) and I whipped mine up in about 15 minutes. (I improvised a little, using hot glue to secure rather than stitching and velcro, seeing as this wasn’t going to be a functional bow tie.)
home—made.blogspot.com
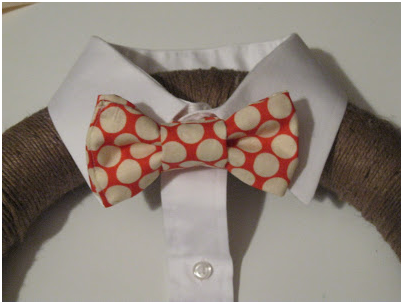
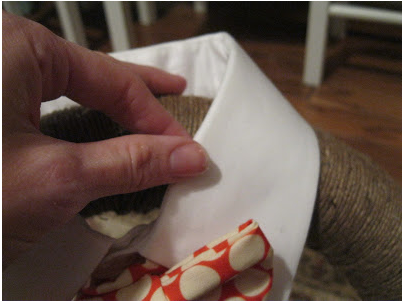
Step 8) Alright, time to get dressed. Put your bowtie on the shirt collar and fold collar down. Then center your collar over the wreath form.
home—made.blogspot.com
Step 9) Secure back and front sides of the collar to the wreath with hot glue.
home—made.blogspot.com
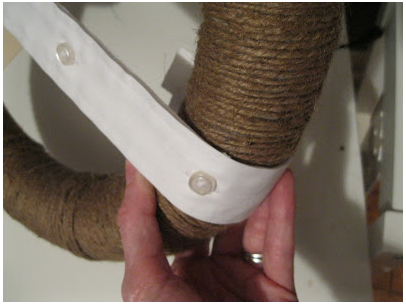
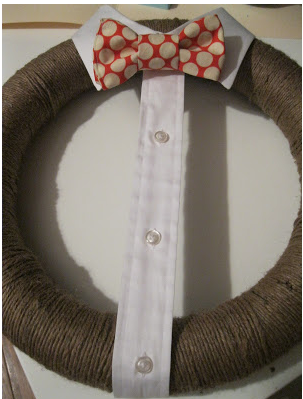
Step 10) Pull your button placket straight down and center on the bottom portion of the wreath, wrapping around the circumference of the wreath. Secure with hot glue.
home—made.blogspot.com
**Your wreath should start to look nearly finished!
home—made.blogspot.com
Step 11) Now it’s time to add the letters. Place them on your wreath to your liking and hot glue those bad boys down.

home—made.blogspot.com
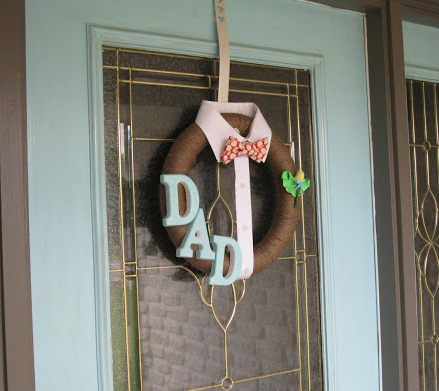
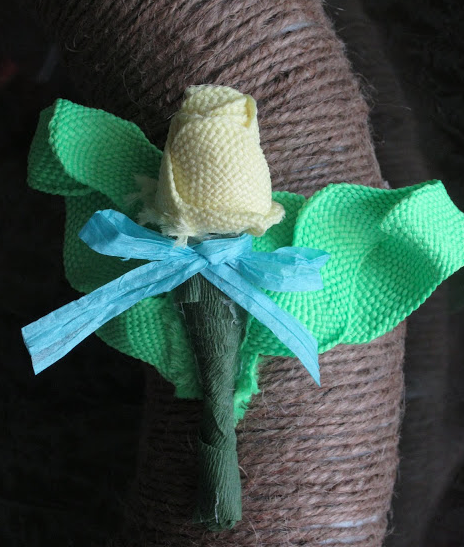
Step 12) And you’re done! Easy, right? Now go hang this on your door to say Happy Father’s Day to all who enter! **I added a small ric-rac boutonniere just for fun!
home—made.blogspot.com
home—made.blogspot.com
HAPPY FATHER’S DAY TO ALL WHO ENTER YOUR HOME!
HT home.made.